
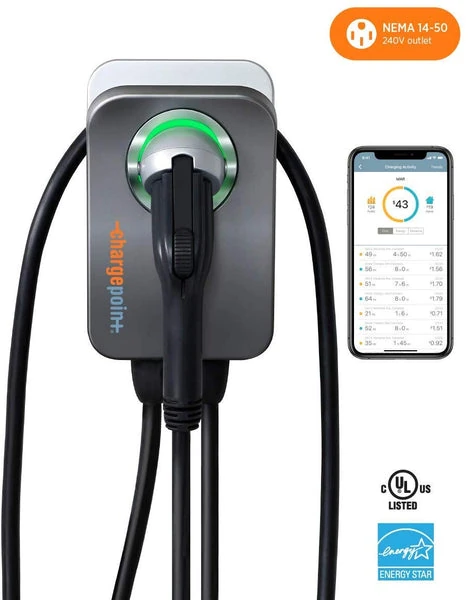
Installation
Example: Plug-in · 40 A · 240 V
Change configuration
| Supply | 240 V, single-phase, 60 Hz |
|---|---|
| Branch circuit | One dedicated circuit |
| Manufacturer breaker | 50 A, two-pole |
| Charging output | Up to 9.6 kW |
| Connection | NEMA 6-50 or 14-50 outlet; confirm the store variant |
US plug-in settings are 32 A on a 40 A circuit or 40 A on a 50 A circuit. 48/50 A requires hardwiring. Vehicle acceptance and site power management affect delivered power.
- Mounting & reach
- Wall mount with a 23 ft charging cable. The input cord is only 12 in long, so outlet placement matters. Confirm the connector and plug offered in the store before ordering.
- Electrical work
- Have a licensed, ChargePoint-certified electrician check panel capacity, set the permitted current and label the installation. Follow the current installation guide’s certification and warranty requirements.
- Wiring limits
- Copper with 90°C insulation; terminals accept up to 6 AWG. Higher-current circuits may need a junction box/transition. The electrician determines wiring and local protection requirements.
- Outdoor locations
- Use hardwiring or the weather-rated outlet arrangement required by local code. Check wall support and cable reach to the parked vehicle.
- Wi-Fi & setup
- Check 2.4/5 GHz Wi-Fi coverage at the charger. The electrician sets the installation current; the homeowner activates the charger and charging schedules in the ChargePoint app.
For an estimate, send the planned charger locations, parking layout, panel/service information and proposed wiring route and distance. Send ETP your project details →
Confirm the exact equipment and approved site drawings before construction. Wire sizing, foundations, permits and accessibility depend on the site.